Disassembling a recliner sofa can be necessary for various reasons, such as moving, storage, or repairs. While it may seem daunting, with the right tools and approach, you can easily break down your sofa into manageable pieces. This guide will walk you through the process step-by-step, ensuring a smooth disassembly.
Table of Content
Tools You Will Need
Before starting, gather the necessary tools:
- Screwdriver (flathead and Phillips)
- Allen wrench (if applicable)
- Pliers
- Utility knife
- Tape measure
- Rubber mallet (optional)
- Container for screws and small parts
Having these tools ready will make the process more efficient and prevent damage to your sofa.
Step 1: Prepare the Area
Clear the Space
Begin by moving any furniture or obstacles away from the recliner sofa. This gives you ample space to work and reduces the risk of damaging other items.
Identify the Reclining Mechanism
Familiarize yourself with how the reclining mechanism works. Depending on the model, it may be a lever, button, or manual pull. Understanding the mechanics will help you handle the sofa more effectively.
Step 2: Remove the Cushions
Detach Loose Cushions
If your recliner sofa has removable seat or back cushions, start by taking them off. Simply lift them up and away from the frame. This step will lighten the load and make the sofa easier to handle.
Check for Fasteners
Some cushions may be attached with Velcro or snaps. If you encounter any fasteners, detach them carefully before proceeding.

Step 3: Remove the Reclining Mechanism
Locate the Mechanism
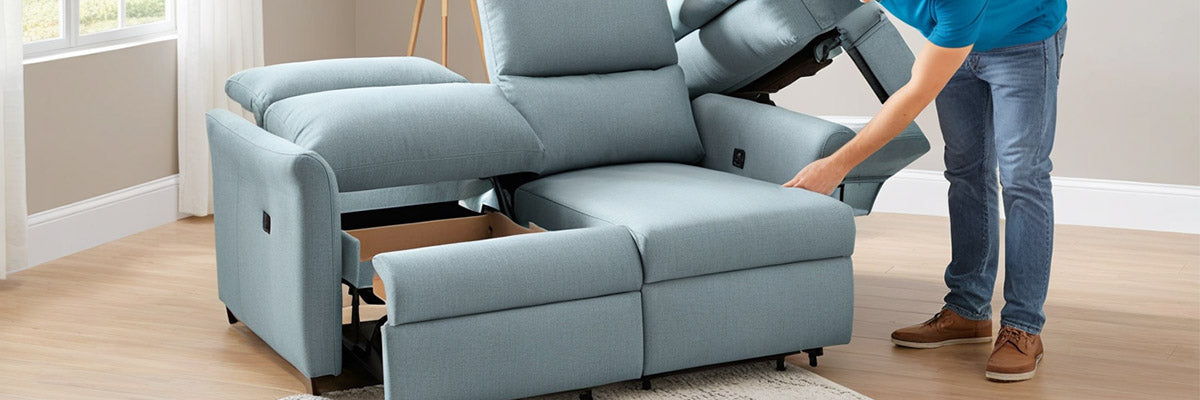
The reclining mechanism is typically situated underneath the sofa. Lay the sofa on its side (if possible) or recline it to access the mechanism more easily.
Detach the Mechanism
Using a screwdriver, remove any screws securing the mechanism to the frame. Keep these screws in a labeled container for reassembly later. If the mechanism has any clips or brackets, gently pry them open using pliers or a flathead screwdriver.
Check for Wiring
If your recliner is powered, carefully disconnect any wiring associated with the reclining function. Be gentle to avoid damaging the wires.
Step 4: Take Apart the Frame
Identify Joints and Fasteners
Examine the frame to locate any screws, bolts, or joints. Depending on the construction, you may find screws in various places, such as the armrests, seat frame, and backrest.
Remove Armrests
To detach the armrests, remove the screws or bolts that hold them in place. If they are secured with dowels, gently tap them out with a rubber mallet.
Separate the Backrest from the Seat
Look for the connection point where the backrest attaches to the seat. This is often secured with screws or brackets. Remove these fasteners carefully and lift the backrest away from the seat.
Disassemble the Seat Frame
Once the backrest is removed, examine the seat frame for any remaining fasteners. Remove these to break down the seat into smaller pieces.

Step 5: Disassemble the Legs
If your recliner sofa has detachable legs, unscrew them from the base. This will make the sofa even more manageable for transport or storage.
Check for Hidden Fasteners
Some models may have hidden screws or fasteners that secure the legs. Inspect thoroughly to ensure all connections are removed.
Step 6: Label and Organize Parts
As you disassemble the sofa, label each part and keep screws and fasteners in a clearly marked container. This will streamline the reassembly process later and prevent the loss of important components.
Step 7: Clean the Area
Once the sofa is fully disassembled, take a moment to clean the area. Remove any dust or debris that may have accumulated during the process.
Tips for Reassembly
1. Refer to the Manual:
If you have the original manual, it can be an invaluable resource for reassembly.
2. Take Photos:
Document each step with photos. This can help jog your memory during reassembly.
3. Work Methodically:
Follow the disassembly steps in reverse order for a smoother reassembly process.
Conclusion
Disassembling a recliner sofa might seem like a challenging task, but by following these steps, you can do it efficiently and safely. Whether you’re moving to a new home or simply making repairs, this guide will help you navigate the process with confidence. Remember to be patient, and take your time to avoid any damage. Happy disassembling!


