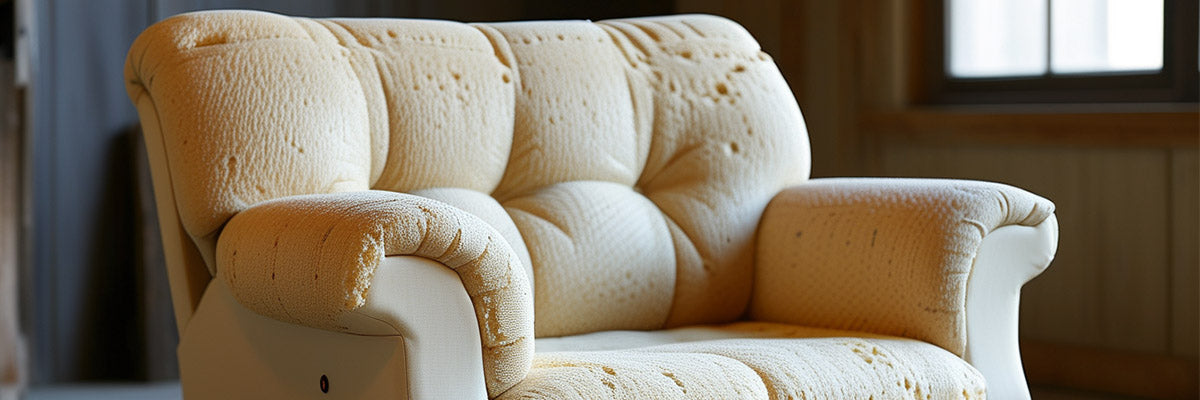
Reupholstering a sofa chair can breathe new life into a tired piece of furniture, allowing you to customize it to fit your style while saving money. Whether you have a vintage find or a family heirloom, reupholstery can be a rewarding DIY project. Here’s a comprehensive guide to help you transform your sofa chair from drab to fab!
Table of Content
1. Materials Needed
Before diving into the project, gather the necessary materials:
1. Fabric:
Choose upholstery fabric that suits your style and is durable enough for everyday use.
2. Foam or Batting:
For added comfort, replace the foam or add extra batting.
3. Staple Gun and Staples:
For securing the fabric to the chair frame.
4. Screwdriver:
To disassemble the chair.
5. Pliers:
Useful for removing old staples.
6. Measuring Tape:
For accurate measurements.
7. Scissors:
For cutting fabric and batting.
8. Upholstery Tack or Trim:
To finish edges and add style.
9. Dust Cover Fabric:
To cover the bottom of the chair.

2. Step 1: Prepare the Chair
Start by preparing your workspace. Ensure you have plenty of room to lay out the chair and materials. Then, carefully remove any cushions, pillows, or detachable parts. Use a screwdriver to take apart the chair, noting how everything is assembled.
3. Step 2: Remove Old Upholstery
Once the chair is disassembled, it’s time to strip it down. Use pliers to remove old staples and fabric. Take your time to avoid damaging the underlying structure. Keep pieces of the old fabric to use as patterns for cutting new fabric.
4. Step 3: Assess and Repair the Frame
Inspect the chair’s frame for any damage. Tighten screws or replace broken components as needed. If necessary, reinforce the frame with wood glue or brackets.
5. Step 4: Replace Foam or Add Batting
If the foam is worn or damaged, replace it with new foam. Measure and cut the foam to fit the seat, back, and arms. If you prefer a softer feel, add batting over the foam to enhance comfort. Secure it in place with a staple gun, making sure it’s evenly distributed.

6. Step 5: Cut and Attach the New Fabric
Using the old fabric pieces as a guide, measure and cut your new upholstery fabric. Remember to add extra for seams and tucking. Start with the seat cushion, laying the fabric over the foam, and pull it taut.
Stapling the Fabric
Begin stapling the fabric to the underside of the seat, starting in the center and working your way to the edges. Ensure the fabric is tight but not overly stretched. Fold the corners neatly, and secure them with additional staples for a clean look.
7. Step 6: Reassemble the Chair
With the seat completed, move on to the back and arms. Attach fabric in the same manner, ensuring each section is securely fastened. Once all pieces are upholstered, reassemble the chair, following your earlier notes on how it was originally constructed.
8. Step 7: Finishing Touches
After reassembly, consider adding trim or upholstery tacks to enhance the design. A dust cover fabric can be attached to the bottom to give a polished finish. This also protects the inner workings from dust and dirt.
9. Step 8: Final Inspection
Take a moment to inspect your work. Ensure all staples are secure, and check for any loose edges. If you find any imperfections, make adjustments as necessary.
10. Conclusion
Reupholstering a sofa chair is a fulfilling project that not only revives an old piece of furniture but also allows you to express your personal style. With patience and attention to detail, you can achieve professional-looking results. So gather your tools, choose your fabric, and get started on your next DIY adventure!
By following these steps, you'll not only create a beautiful piece of furniture but also gain valuable skills that can be applied to future projects. Happy upholstering!
If you want to buy our home furniture or couch for living room, you can check out more on our store


