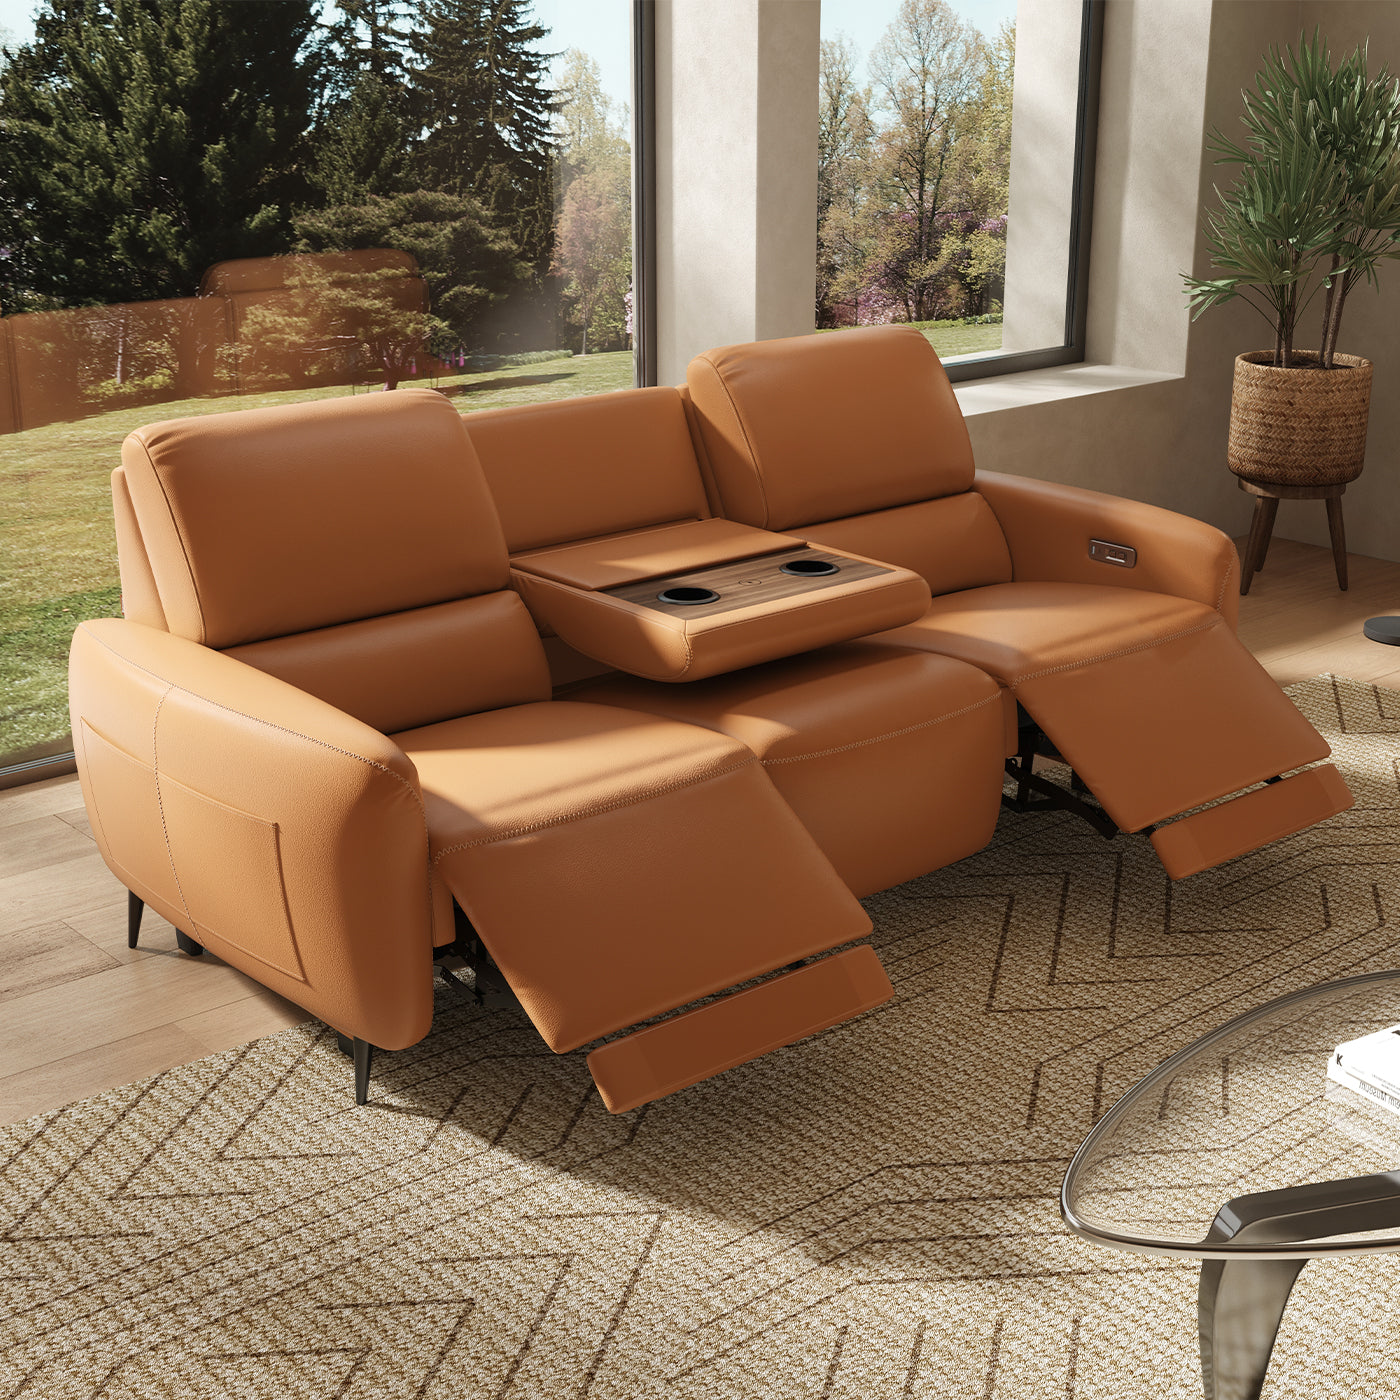


Making a stretch sofa cover can be a fantastic way to revitalize your living space, protect your furniture, and even express your personal style. With just a few materials and some sewing know-how, you can create a custom cover that fits your sofa perfectly. Here’s a detailed guide on how to make a stretch sofa cover, from choosing the right fabric to the final touches.
Table of Content
Materials Needed
1. Fabric:
Choose a stretch fabric, such as spandex, jersey knit, or lycra. These materials conform to the shape of your sofa and provide a snug fit.
2. Measuring Tape:
To ensure accuracy in your dimensions.
3. Scissors:
For cutting the fabric.
4. Sewing Machine:
A basic sewing machine will suffice; make sure you have a ballpoint needle for stretch fabrics.
5. Thread:
Use a color that matches your fabric.
6. Pins:
To hold the fabric in place while sewing.
7. Iron:
For pressing seams and fabric.
8. Optional:
Elastic bands for added grip around the bottom of the cover.
Step 1: Measure Your Sofa
Begin by taking precise measurements of your sofa. You’ll need to measure:
- The width of the seat (side to side).
- The depth of the seat (front to back).
- The height of the backrest.
- The height of the arms, if applicable.
- The distance from the ground to the bottom of the sofa.
Make sure to write down all measurements as you go, and note any unique features of your sofa, such as cushions or removable parts.

Step 2: Calculate Fabric Requirements
Once you have your measurements, calculate how much fabric you’ll need. As a general rule, for a standard three-seat sofa, you’ll need about 4 to 5 yards of fabric, depending on the design and how much stretch it has. It’s always a good idea to buy a little extra fabric just in case.
Step 3: Cut the Fabric
Lay your fabric out on a flat surface. Using your measurements, cut the fabric according to the following pieces:
- Main Cover:
This will be the largest piece and should be large enough to drape over the entire sofa.
- Arm Covers:
If your sofa has arms, cut two additional pieces to fit over them.
- Back Cover:
Depending on your design, you may want a separate piece for the back of the sofa.
Step 4: Assemble the Cover
With all your pieces cut, it’s time to sew them together. Start with the main cover:
1. Pin the Fabric:
Lay the fabric over the sofa and pin it in place. Make sure it’s taut but not overly stretched.
2. Sew the Seams:
Begin sewing the main piece together, starting from the back and working your way to the front. Use a stretch stitch or zigzag stitch to allow for movement.
3. Add Arm Covers:
Once the main cover is sewn, attach the arm covers, ensuring they fit snugly.
Step 5: Fit and Adjust
Try the cover on your sofa to check the fit. It may require some adjustments to ensure it looks neat and stays in place. You might need to take in some seams or add additional fabric in certain areas. This step is crucial for achieving a professional look.

Step 6: Add Finishing Touches
To prevent the cover from slipping off, consider adding elastic bands around the base. You can sew these into the hem of the cover to help it grip the sofa better. This is especially useful if you have pets or children.
Step 7: Iron and Style
After sewing and fitting, give your new cover a good press with an iron to remove any creases. Style your sofa with decorative cushions that complement your new cover, adding both comfort and aesthetic appeal to your living space.
Conclusion
Creating a stretch sofa cover is an achievable DIY project that can save you money while allowing you to customize your living room. By following these steps, you can breathe new life into your furniture, protect it from wear and tear, and enjoy a stylish upgrade that reflects your personality. So gather your materials, unleash your creativity, and transform your sofa today!

If you want to buy our home furniture or couch for living room, you can check out more on our store
The Author: Aliving Home
As an functional and aesthetic furniture company, we are passionate about transforming spaces into inspiring, functional, and aesthetically pleasing environments. With over 10 years of experience in the industry, we have honed our skills in both creative design and compelling storytelling. Our love for design extends beyond the visual elements; We strive to understand the unique stories and needs of our clients, capturing the essence of each project through our writing.